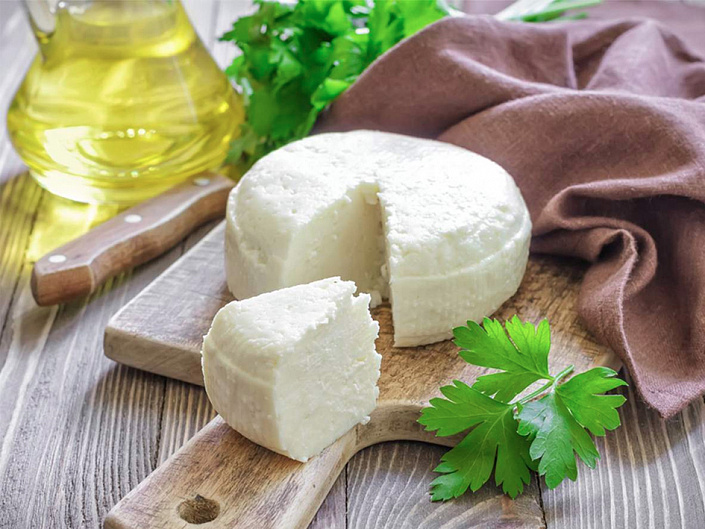
Rarely anyone does not prefer a piece of cheese for breakfast, because cheese is not only nourishing, tasty, healthy, but also easily digestible product. And if, this cheese is also made with your own hands, with a good mood, all your family will feel the love and care. There is no doubt that everyone will appreciate such a dish, because for its preparation it is necessary to make an effort. And do not be afraid of difficulties, to prepare Adygean cheese at home from milk with your own hands with a step-by-step recipe, which we present to you, is not difficult at all.
Adygeyan cheese at home: a detailed recipe for cooking
The main thing is to prepare in advance all the necessary products, which we list below.
Adygeyan cheese is less caloric than semi-hard and hard cheeses, only 264 kcal.
100 grams of homemade Adygee cheese contains:
Protein – 19.8 mg;
Fats – 19.8 mg;
Carbohydrates – 1.5 mg.
Vitamins A, B1, B2, E, PP, C and essential macro- and micronutrients such as iron, iodine, potassium, calcium, copper, sodium, selenium, sulfur, phosphorus, fluorine, zinc and saturated fatty acids.
Ingredients:
Fat milk (not canned) – 5 liters;
Cream 20% – 0,5 liters;
Lemon (large) – 1 piece;
Sea salt – 1/2 tablespoon.
How to make adygeyan cheese at home
In the very beginning, we draw your attention to the fact that the milk for making Adygean cheese, should be live, with a short shelf life, not canned. As a rule, such milk is sold in soft plastic bags, with a shelf life of not more than 7 days.
Pour the milk and cream into a saucepan and put it on the heat. When the milk and cream are steaming and ready to boil (foam will start to form), with constant stirring add salt and squeeze the juice of 1/2 of a lemon into the milk mixture. You will see that with gentle stirring the milk begins to curdle into an airy curd that floats to the surface. It is not necessary to stir the mass until homogeneous.
When the milk and lemon mixture begins to boil, with gentle stirring, squeeze the second part of the lemon into it and remove from the burner.
You can see how the milk mixture has become a clear whey, and the curd has floated to the surface.
Durshelag lined with double or triple (all depends on the quality of the material), pre-washed gauze, put it in a container (any bowl the size of the colander will do), and gently, with a slotted spoon begin to remove the curd from the surface of whey, spreading it on a gauze mat.
When all the curd is transferred, remove the colander from the bowl, the whey from the pan (where you cooked curd from the milk mass), gently, not all the way, pour into the bowl, where the colander was standing.
From the bottom of the pan, collect the rest of cottage cheese and also transfer it to the gauze in the colander.
Gauze with curd lifted from the colander, gently squeeze out and leave to drain from the rest of the whey in a hanging position for two to three hours. Episodically go to the gauze bag with curd and squeeze it lightly, letting the whey drain off. The more often we squeeze the curd, the stronger will be our Adygean cheese.
Then, when the whey is no longer isolated from cottage cheese, we carefully transfer it from the gauze in a prepared mold (this can be an ordinary plastic container), we press cottage cheese cover smaller size container and put a press on top (regular two-liter bottle of water will do an excellent job as cargo). Leave the cheese under the press for 6 to 8 hours. If, on the surface formed a little whey, carefully remove it with a spoon.
It is best to prepare Adygean cheese in the evening and leave it under the press in a cool place overnight. In the morning, without much effort, the cheese is transferred to a plate by tipping the mold upside down.
Your hearty, tasty and healthy Adygean cheese, prepared with your own hands at home, is ready.
Since, each producer has different milk quality, the weight of the made Adygean cheese may vary.
Have a nice meal, friends!


